| |
|
|
|
 |
|
www.DzlJim.com |
|
|
Project: Replacement 38
gallon rear tank
The rear tank on my '97 Crew Cab finally rusted
through so I had to decide on a stock sized poly replacement or go with a
bigger steel tank. The larger tank would require more work, but would be
double the capacity. I decided to go with the larger 38 gallon steel tank,
and here's how it went.
Overview of Project
It was pretty straight forward of a swap. Once the
rear tank was removed I took out the sender to re-use it, modified the pick-up
tube, return tube and the sender arm. The tank came with good instructions,
longer skid plate bolts to mount the tank and parts to extend the pick-up tube.
The parts are meant for various applications so I modified mine myself how I
liked. I also went ahead and primed and painted the tank to help resist
corrosion so I wouldn't have to do this again.
Materials Used
I got my 38 gallon tank from
www.RockAuto.com
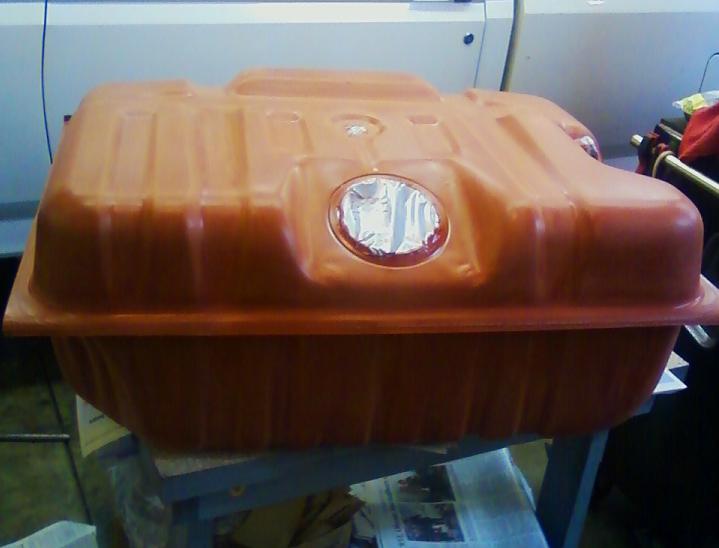
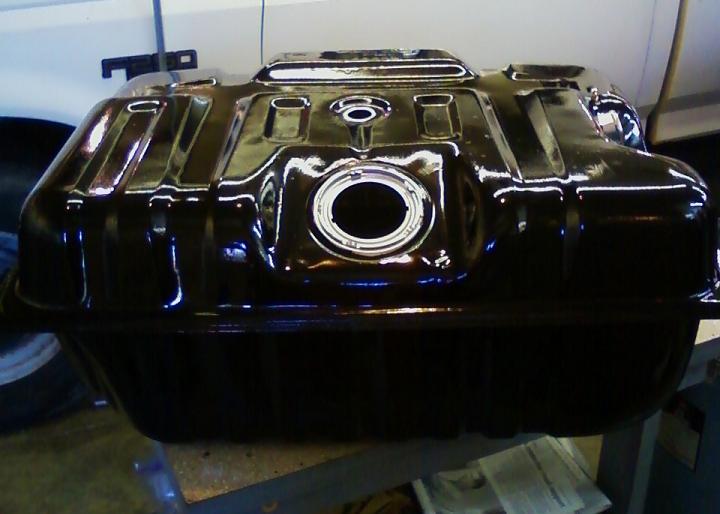
for around $185 or so shipped to my door. Part number F26E. I then scuffed
it up, primed and painted with Rustoleum primer and paint as seen below.
Mounting the fuel tank
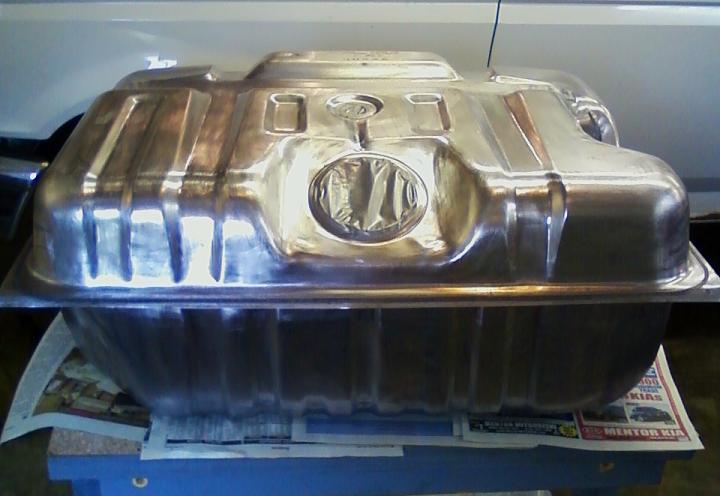
First step was to scuffy the new tank, prime and
paint it. Click on a pic to enlarge.
 |
|
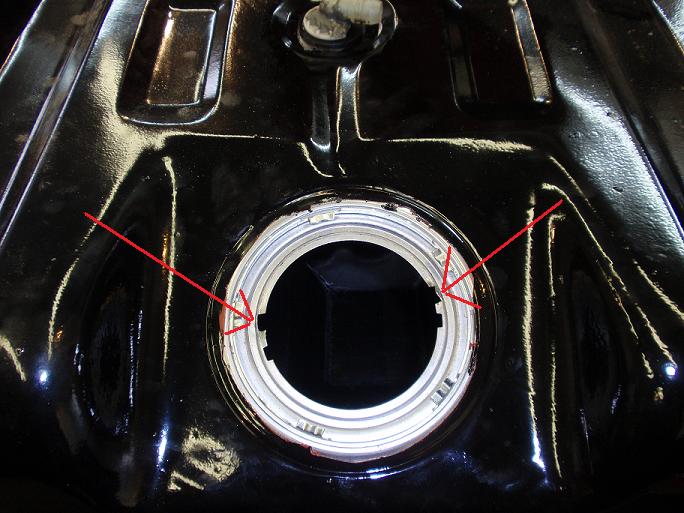
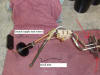
After removing the old tank
and sending unit from it, I test fitted the old sender to make sure it
would fit. It turns out the sending unit has 2 tabs on it that help
center it in the hole to keep the pick-up squared up in the tank. So I
used some tin snips and cut 2 more notches so the sender would be
positioned correctly, as indicated by the 2 arrows. |
|
| |
|
|
|
 |
|
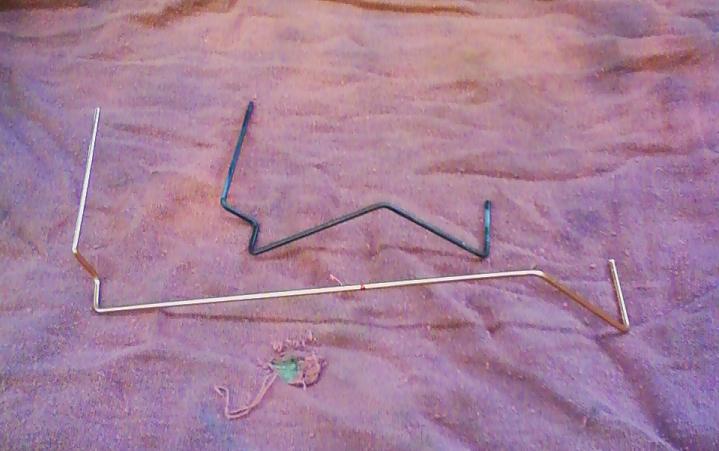
Next, I had to address the
increased length of the fuel sender float arm. The new 38 gallon tank is
about twice as deep as the original 19 gallon tank, so if the arm was
left alone, the gauge would work OK, just not be real accurate once it
dropped below 1/2 tank. So I found a piece of welding rod that was the
exact same diameter as the stock arm and made a duplicate that was about
4 1/2" longer. The arm fit perfectly back into the stock float and
sender. |
|
| |
|
|
|
 |
|
Then I had to lengthen the
pick up and return tubes. The tank came with several pieces of copper
tubing to fit some other applications, but one piece fit the pick-up
perfectly, and I had a scrap piece of tubing to extend the return tube.
I got some compression couplers from the hardware store and lengthened
them. Note the red arrows, these are the tabs I had to make notches for
earlier. I set the
sender assembly in several times, viewing it from the tank's fill tube
and would swing the float arm to make sure it was in just the right spot
so that it doesn't hit the top or bottom of the tank. |
|
| |
|
|
|
 |
|
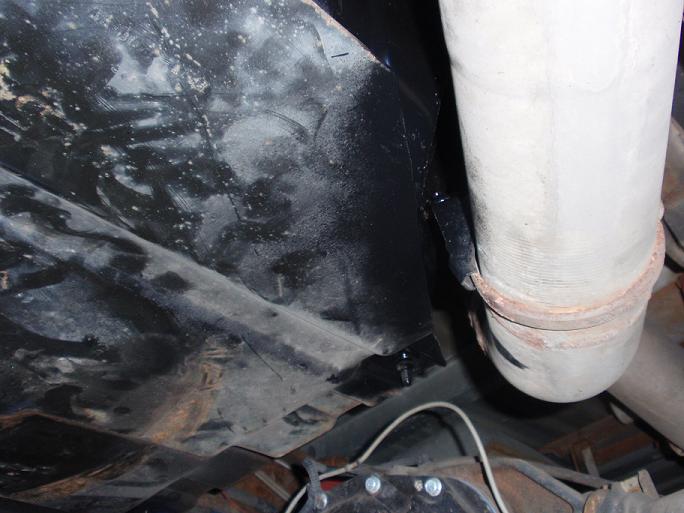
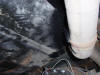
With the lowered tank, I
had to cut a corner off of the passenger side skid plate. I also had to
beat in the corner to clear the exhaust and hanger. The corner of the
tank is molded some to start with and might clear a stock exhaust. But I
made my exhaust system a few years ago and I had to beat the tank with a
hammer to clear. It's very close, maybe 1/2" away and I will keep an eye
on it to make sure it never touches. If it starts to rub I'll make a
stand-off or something from the skid plate to prevent it from rubbing
through the tank. |
|
| |
|
|
|
 |
|
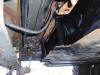
The tank also comes with
longer bolts and pieces of pipe to extend the skid plate down to hold up
the tank. The fronts worked fine, but for some reason the rear wasn't
even close and I had to cut some threaded rod and add some spacers to
the spacers to make it work.
Also, I didn't use the
supplied nuts, rather, I used some lock nuts for piece of mind. |
|
| |
|
|
|
 |
|
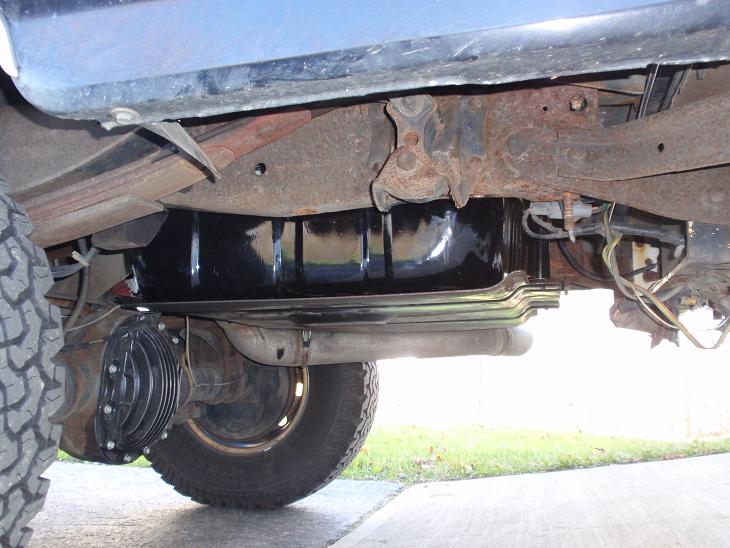
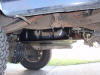
Side view. It looks like
there's plenty of room to hang the tire there again, but I'll have to
find some threaded rod and connectors to extend the oem parts to do so.
I'll keep the tire in the bed for now as winter is coming and I'd like
to keep the tire from being so low in the salty winter roads. I'll work
on that in Spring '10. |
|
| |
|
|
|
Results
Overall I'd say the project was more of a pain than I
expected. The biggest hurdle is that the seams on the sides of the tank are
actually wider than the lower frame rail lips on the truck. So you have to
tilt the tank up sideways, put one side in, then raise the other side and
slide it in. Which is all fine and dandy except now you can't get the fuel
lines hooked up. The oem tank tilts down from the back so you just reach up
in there to connect/disconnect the lines. The new tank won't fit like that.
I had to spend a lot of time and work my fingers in from the front, and
there's very little space to do this. If I had to do it again I would PULL
THE BED in a heart beat instead of going through what I went through to get
it in there and hooked up.
When I was filling up I put 19 gallons in and saw the gauge went to a hair
over 1/2 tank, so I know the sender float arm mod I did was pretty darn
close and should work great. It took almost exactly 38 gallons to fill up,
too. So I now have about 56 gallons of fuel on the truck. ;-)
Happy wrenching.
~
Back
to 'The Black Truck'
~
|
|